

So, you're absolutely sure you want to switch to Linux because your current system just isn’t cutting it anymore? Tired of being spied on, locked into proprietary formats, and dealing with endless software updates right when you have zero time for them? Ready to explore the other side—the freer side? No more talking—let’s get straight to it. Here’s how to get up and running in no time:
1. Preparation & Data Backup
If you use a used hdd or sdd drive: backup your data by copying important files to an external hard drive, or a USB stick. This ensures that you don't lose any important data if something goes wrong. The rest of your system is not important anymore if you don't wanna dual boot (boot linux alongside windows) we will just delete windows in the next steps.
You know, you can copy data from one drive to another with the help of windows explorer. Just find your data you still need after your migration to linux and copy it on a usb stick, an external hdd or sdd or whatever.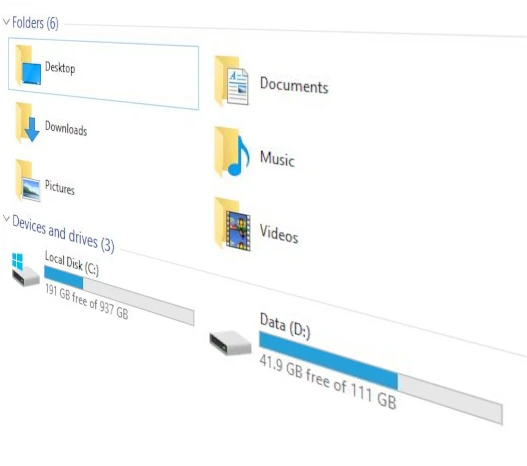
Assure yourself that you copied your data you do NOT want to loose and ONLY THEN proceed to step 2.
2. Choose a linux & download
Choose a Linux distribution (e.g., Ubuntu, Fedora, Mint) and download the ISO image from the official website. Ensure the version matches your PC’s architecture (mostly 64-bit, amd64 or simply x86_64 these days). Just download the respective .iso file (it is just an image of an installation medium) - you need it for installation in some minutes.
To make it a bit easier for you, here are some different linux variants you can choose from, for convenience I added the respective download links for the different linux flavours under the respective videos:


3. Create a bootable USB Device
You need a usb stick. All usb sticks with a minimum of 8 till 16 GB should suffice. Use tools like Rufus, balenaEtcher, or UNetbootin to create a bootable USB drive from your stick. These programs convert the downloaded ISO image into a bootable medium. Hint: You may even use an external harddrive, ssd or whatever as long as it boots from usb :-)
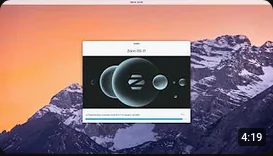
For example here is a screenshot from balenaEtcher. It's dead simple.
1) Select your already downloaded .iso image of your respective linux.
2) Choose your device this image should be bootable written to, i.e. your usb stick.
3) Click on Flash! and wait till all is done. Then let that usb stick inside your usb port, as your pc will shortly boot from it in the next step!
4. Adjust BIOS/UEFI Settings
Restart your PC and access the BIOS/UEFI menu (usually by pressing keys like F2, Del, or Esc during boot). Change the boot order to ensure the USB stick is selected first.

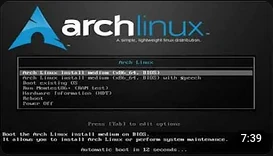
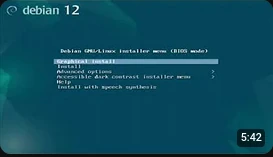
5. Boot from Installation Media
Select the appropriate entry as previously told in the UEFI bios and click enter. Your system should boot from the USB drive, starting the Linux installation process instead of booting Windows. If not, choose another entry. Sometimes you also have to disable CSM settings, you do NOT in all cases need "secure boot"! If nothing works, try to disable it first. Then if it boots, noting stops you from installation.
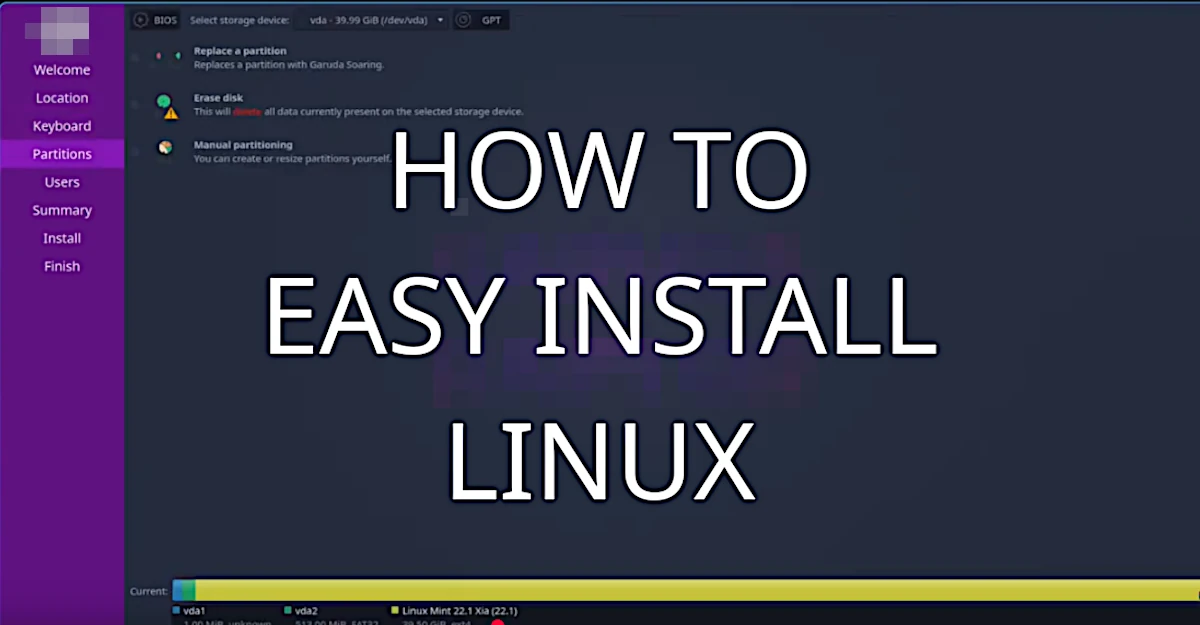
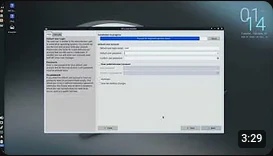
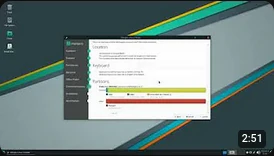
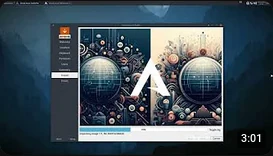
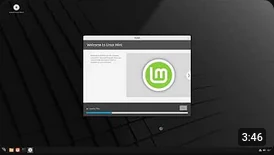
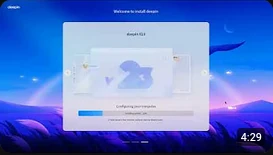
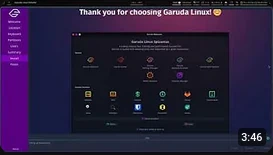
6. Installation
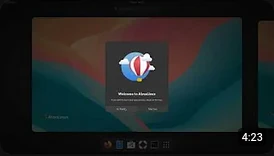
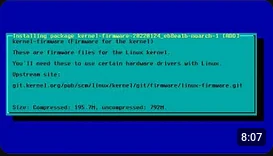
Follow the installation prompts as seen in the short videos above, making sure to select your preferences – language, timezone, etc.
During installation, choose the option to delete the entire drive and use it solely for Linux. This will remove Windows completely and re-partition the storage.
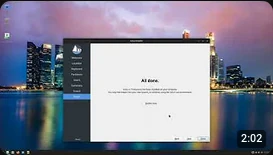
You will eventually reach the end of the installation (mostly it's easy) and then you are ready for:
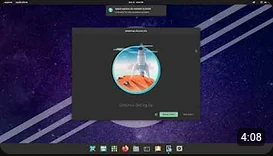
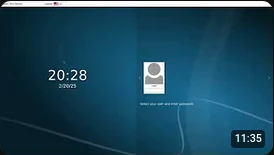
7. Reboot and Login
After installation is complete, reboot your PC. Remove the USB stick, and your system should boot directly into the newly installed Linux OS. Then wait till you may enter your login and password and you're ready to go.
You still have problems?
If anything is unclear to you, please be so kind and write it into the comment system below. It's free - you just need a username and a password - no email required! I will regularly check these comments and try to help as fast as I can.
Comments
Please Log in or register to post a comment.